We handle hundreds of marine aquarium installations across the US each year, and osmotic shock remains the top reason hobbyists lose new fish. This rapid shift in water chemistry is entirely preventable. Every fish in our Sarasota saltwater livestock room leaves the store with the same acclimation protocol we use behind the scenes.
Performing a proper drip acclimation for saltwater fish serves as the single most important post-purchase step for your livestock.
Our team relies on the standard drip method for aquarium systems to safely transition sensitive species from the transport bag to the display tank. You will learn the exact gear required, the step-by-step procedure, and the common mistakes to avoid.
Let’s walk through the process to ensure your next addition thrives from day one.
Why drip acclimation for saltwater fish matters
Drip acclimation gradually equalizes the pH, temperature, and salinity between the transport bag and your aquarium. A fish sitting in a transport bag for 30 to 60 minutes during the drive home experiences severe environmental shifts.
While the fish breathes in the confined space, it releases carbon dioxide into the water. This CO2 buildup causes the pH inside the bag to drop significantly. The lower pH actually provides a temporary benefit by rendering the fish’s own ammonia waste non-toxic during transit.
Our technicians frequently see disaster strike when hobbyists ignore this delicate chemical balance. If you dump a new arrival straight into a display tank, the fish experiences three simultaneous shocks.
- pH Shock: The sudden exposure to your tank’s higher pH instantly turns the accumulated ammonia in the bag water highly toxic.
- Temperature Shock: The bag water often cools down by several degrees during transport.
- Salinity Shock: Your display tank likely runs at a standard 1.026 specific gravity, while many local shops keep their systems lower to suppress parasites.
Drip acclimation matches the bag water to your tank water gradually over an hour or more. The fish moves between two similar environments, allowing its body to process the chemical changes safely.
What you need
You must gather a dedicated mixing container, a flow control line, and precise testing instruments before starting the process. Gathering the right tools prevents scrambling while your fish sits stressed in a bag.
We require all our service members to carry specific, high-quality gear for this exact procedure. Cheap equipment often leads to inaccurate readings and fatal mistakes.
- Clean 1-2 gallon bucket: Use a food-safe high-density polyethylene (HDPE) container dedicated solely to aquarium use.
- 3-4 feet of airline tubing: Standard silicone tubing works perfectly for creating the siphon.
- Plastic valve or knot: You need a physical restriction in the tubing to control the drip rate precisely.
- Thermometer: A basic digital probe helps you monitor the bucket temperature during the process.
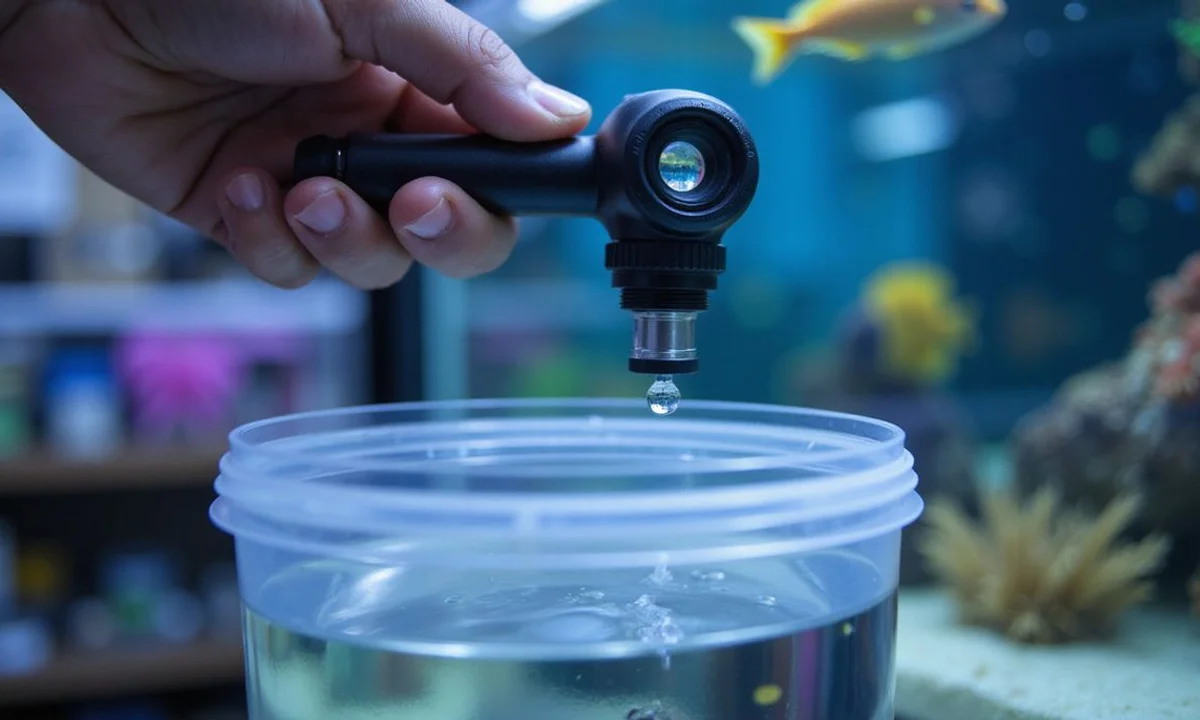
- Optical Refractometer: This is essential for marine setups. You need a device with Automatic Temperature Compensation (ATC) to consistently hit your 35 ppt target.
- Small 50-watt heater: This piece is optional but highly recommended for long acclimations during cold winter months.
Many beginners try to save money by using cheap plastic swing-arm hydrometers. This creates a hidden danger, as these tools easily misread salinity levels by up to .003 points.
| Testing Tool | Accuracy Level | Best Application | Average US Price |
|---|---|---|---|
| Plastic Hydrometer | Low (± .003 SG) | Mixing rough batches of base saltwater | $10 - $15 |
| Optical Refractometer | High (± .001 SG) | Precise coral and sensitive fish acclimation | $30 - $50 |
| Digital Tester | Very High | Professional lab testing and daily monitoring | $70+ |
Step by step
The standard drip method requires patience and close monitoring of your water volume. Rushing these steps dramatically reduces the survival rate of newly purchased marine fish.
1. Float the bag (5-10 minutes)
Open the top of the transport bag and roll the sides down to keep it floating upright. Let it sit in your display tank or sump to begin matching the temperature. You must never let any shop water enter your system, so keep the rolled-down edge sitting well above the water line.
2. Pour fish and bag water into the bucket
Tip the contents of the bag carefully into your clean bucket. Use a turkey baster or a soft mesh net to transfer the water if the bag is unusually large. The fish must remain in its original shop water for the start of the drip process.
3. Check starting parameters
Use your ATC refractometer to check the specific gravity in the bucket and in your display tank. Write down the exact difference between the two readings. Check the temperature in both containers to ensure they are aligning.
- Target Specific Gravity: 1.026 SG
- Target Salinity: 35 ppt
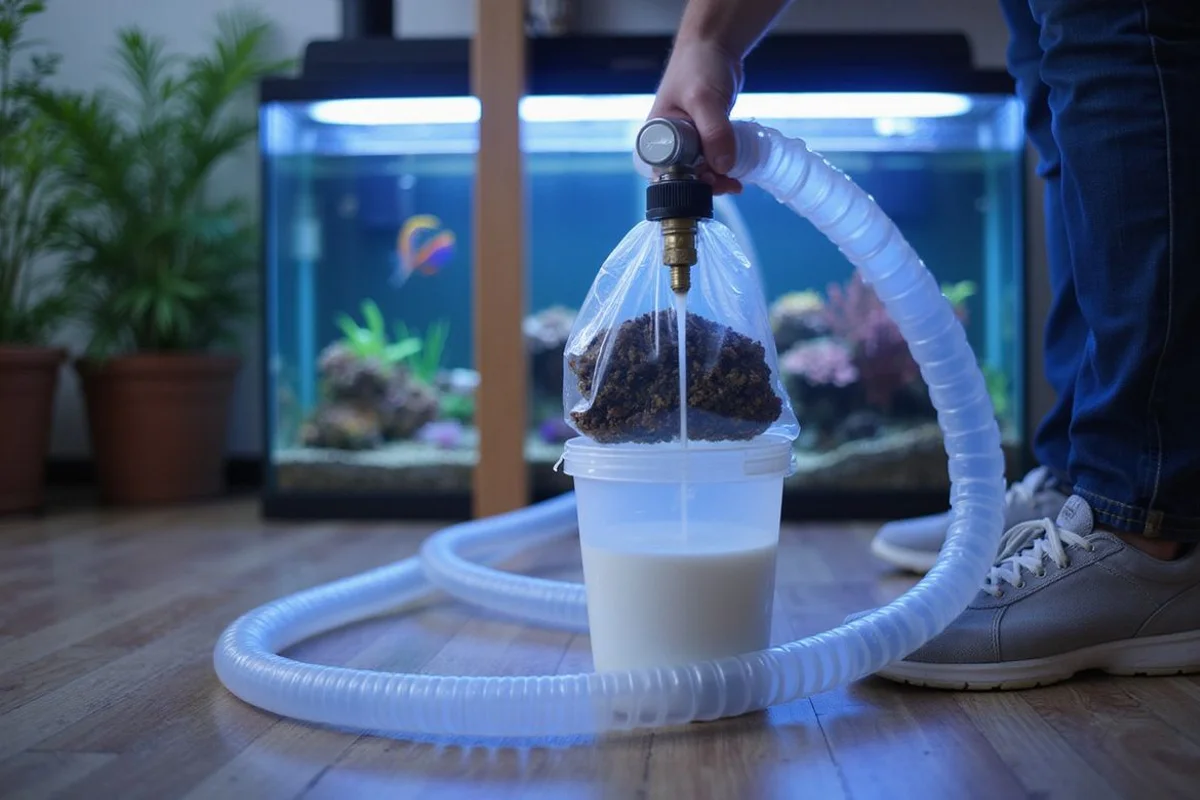
4. Set up the drip line
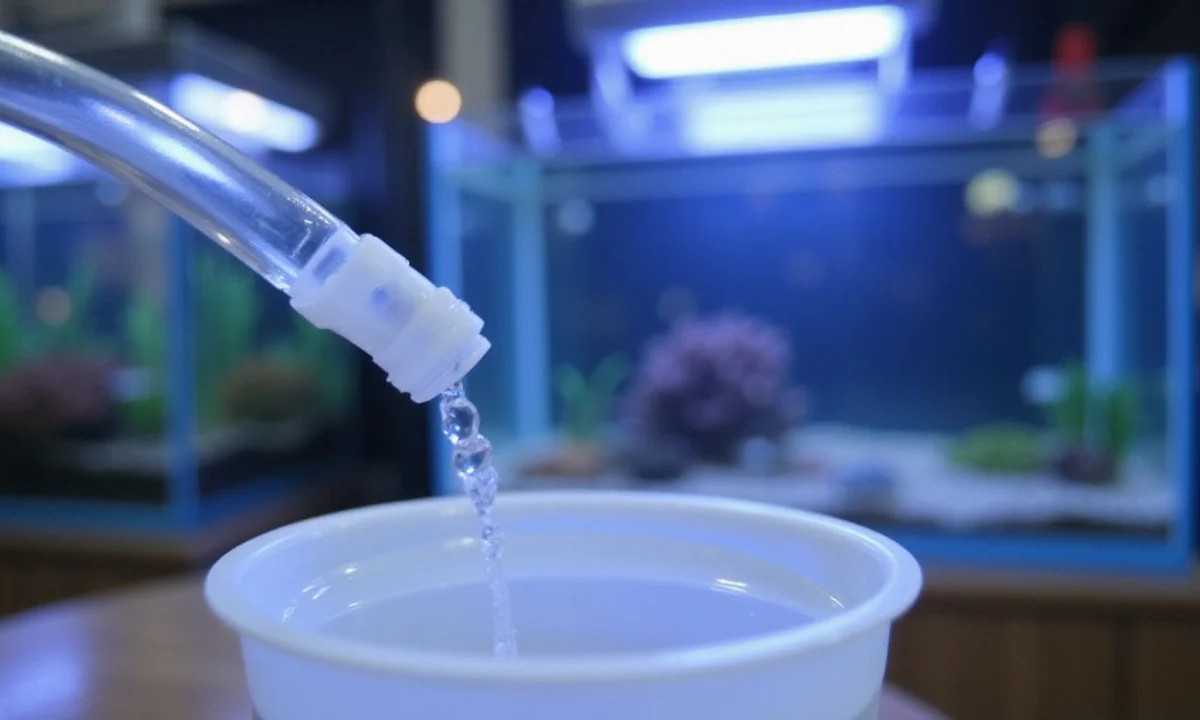
Start a siphon from your main tank into the bucket using the silicone airline tubing. Use the attached plastic valve or a tied knot to slow the flow to exactly 2-4 drops per second. Place the bucket on the floor below the tank level so gravity powers the siphon without a pump.
5. Drip for 60-90 minutes
Let the drip continue until the total water volume in the bucket has roughly doubled. Our quarantine facility extends this time to 2-3 hours for sensitive species like wrasses and anthias. The primary goal is gradual replacement so the fish adapts to the new pH and salinity without panicking.
6. Re-check salinity
Use the refractometer to confirm the bucket salinity now perfectly matches your display tank’s specific gravity. If the reading still falls short of your 1.026 target, discard half the bucket water and continue dripping.
Never rush this final measurement. A gap of even .002 specific gravity can easily trigger osmotic shock in sensitive marine species.
7. Net the fish into the tank
Do not pour bag water into the tank. Net the fish carefully out of the acclimation bucket and release it straight into the display. Discard the remaining bucket water down your household drain.
8. Lights low for the rest of the day
Dim or turn off the display lights for the remainder of the day to reduce environmental stress. The darkness helps the new arrival find safe hiding spots within your rockwork. Do not feed the tank on the day of arrival, as most frightened fish refuse to eat and the decaying food simply adds unnecessary bioload.
Common mistakes
Hobbyists often compromise their success by cutting corners during the final moments of the acclimation process. Avoiding these frequent errors will protect your expensive livestock investments.
- Rushed acclimation: Stopping the process after 15 minutes fails to protect the animal. Even the hardiest clownfish or damselfish need 45 to 60 minutes minimum to adjust to new water chemistry.
- Adding bag water to the tank: The original shop water holds dangerous levels of accumulated ammonia and features a depleted pH. Pouring it directly into your system introduces these pollutants into your clean display.
- Skipping the salinity check: Different US retailers run their holding systems at wildly different specific gravity levels. Assuming the store’s water matches your precise 1.026 setup is a dangerous guess that often ends in osmotic shock.
- Acclimating in a cold room: A small volume of bucket water will drop several degrees over an hour in a standard air-conditioned home. Use a small heater or keep the bucket in a warm ambient space to prevent thermal shock.
- Mixing multiple fish: Aggressive tangs or angelfish can easily attack stressed newcomers when trapped in the close quarters of a bucket. You must use separate containers if you purchased multiple fish from different shop tanks.
When full quarantine matters
Acclimating saltwater fish properly handles the transition from transport water to your home system, but it serves a very different purpose than disease prevention. A full quarantine process isolates the fish to ensure no contagious pathogens enter your main display.
Our maintenance protocols mandate strict isolation to block devastating parasites like Cryptocaryon irritans, commonly known as Marine Ich. If a parasite breaches your main tank, leaving the display completely fallow for up to 76 days is often the only permanent cure.
The industry standard for an infected reef is a strict 76-day fallow period to starve out the Marine Ich parasite lifecycle. A separate home quarantine tank represents incredibly cheap insurance against this massive disruption.
If you are adding a fish to an established reef, many successful keepers run an additional 4-week quarantine in a separate bare-bottom tank. This home observation period remains essential even after the shop’s 2-week protocol concludes.
For a simple fish-only tank, a standard 2-week isolation period usually provides sufficient protection.
If you have bought a fish that looks distressed after acclimation, displaying symptoms like gasping, hiding, or refusing food, bring a water sample in and we will help you diagnose the issue. Free in-store testing covers your exact salinity, calcium, alkalinity, and the rest of the standard saltwater panel.
Frequently Asked Questions
How long should drip acclimation take?
60-90 minutes for most fish. Longer (2+ hours) for sensitive species like wrasses, anthias and shrimp. Inverts often need slower acclimation than fish.
Should I drip-acclimate corals too?
Yes for SPS and sensitive LPS. A quick float-and-dip is usually fine for hardy softies like zoanthids, mushrooms and leathers.
Can I pour the bag water in?
Never. Bag water is loaded with ammonia by the time you get home from the store, and pouring it in introduces both ammonia and the bag's lower-pH water into your display.