We know that setting up your first freshwater aquarium can feel like a guessing game. Many business owners want a calming display for a waiting room, while homeowners look to add a living centerpiece to a living space. Our team at Gulf Coast Aquatics has helped hundreds of Sarasota locals get this exact process right on the first try.
Getting the initial setup correct means the rest of the year is mostly simple maintenance. Skip these foundational steps and you will likely lose fish in the first month.
Here is the exact walkthrough we give beginners.
Step 1: Tank size and placement
For a new aquarium setup, a 20 to 29-gallon tank is the absolute sweet spot. Larger water volumes hold temperature and chemical parameters much more stable than small beginner bowls. We always advise starting with at least 20 gallons to give yourself a solid buffer against beginner mistakes.
Placement requires careful thought before you add a single drop of water:
- Sunlight: Keep the glass away from direct windows to prevent massive green algae blooms and rapid temperature swings.
- Air vents: Avoid placing the tank directly under AC vents.
- Weight support: A standard 29-gallon setup weighs roughly 330 pounds once filled with water, gravel, and glass.
- Power access: Ensure you are near a grounded electrical outlet.
- Visibility: Choose a spot where you will actually look at it daily to catch early signs of trouble.
We strongly recommend a dedicated metal or solid wood stand rated for aquarium use, like the Aqueon Forge series. Standard particle-board office furniture or cheap TV stands often bow under this immense weight, leading to catastrophic glass failure.
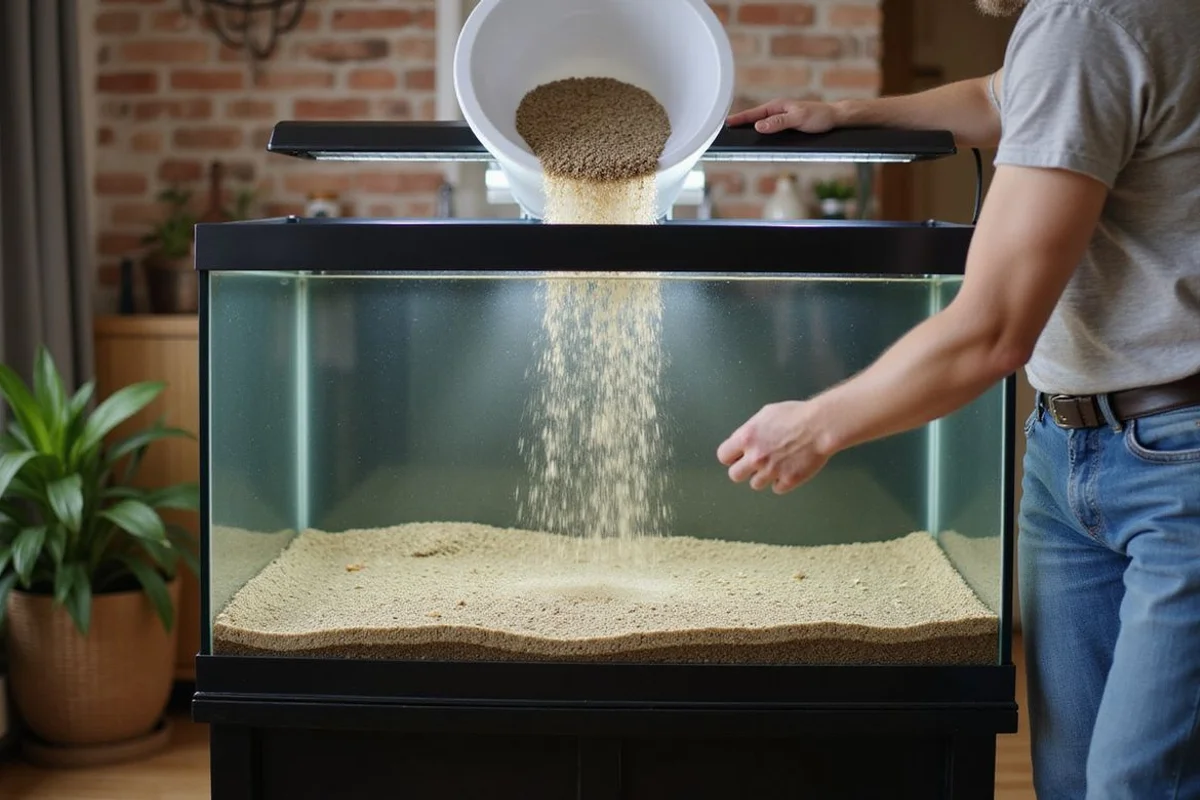
Step 2: Substrate
Your choice of bottom material dictates what kind of fish and plants you can keep.
- Sand: This soft base is perfect for bottom-dwelling scavengers like corydoras catfish. The fine grain keeps waste on top, which does make it slightly harder to vacuum clean.
- Gravel: Standard pea gravel is much easier to maintain with a standard siphon. Rough edges will damage the delicate barbels on bottom feeders, so plan your fish species accordingly.
- Planted substrates: Nutrient-rich soils like CaribSea Eco-Complete or Fluval Stratum are excellent choices. You only need these premium soils if you plan to grow heavily rooted live plants.
We always tell clients to rinse their substrate thoroughly before adding it to the glass. Even bags labeled as pre-washed will cloud a tank for days if you skip a serious rinse in a clean five-gallon bucket.
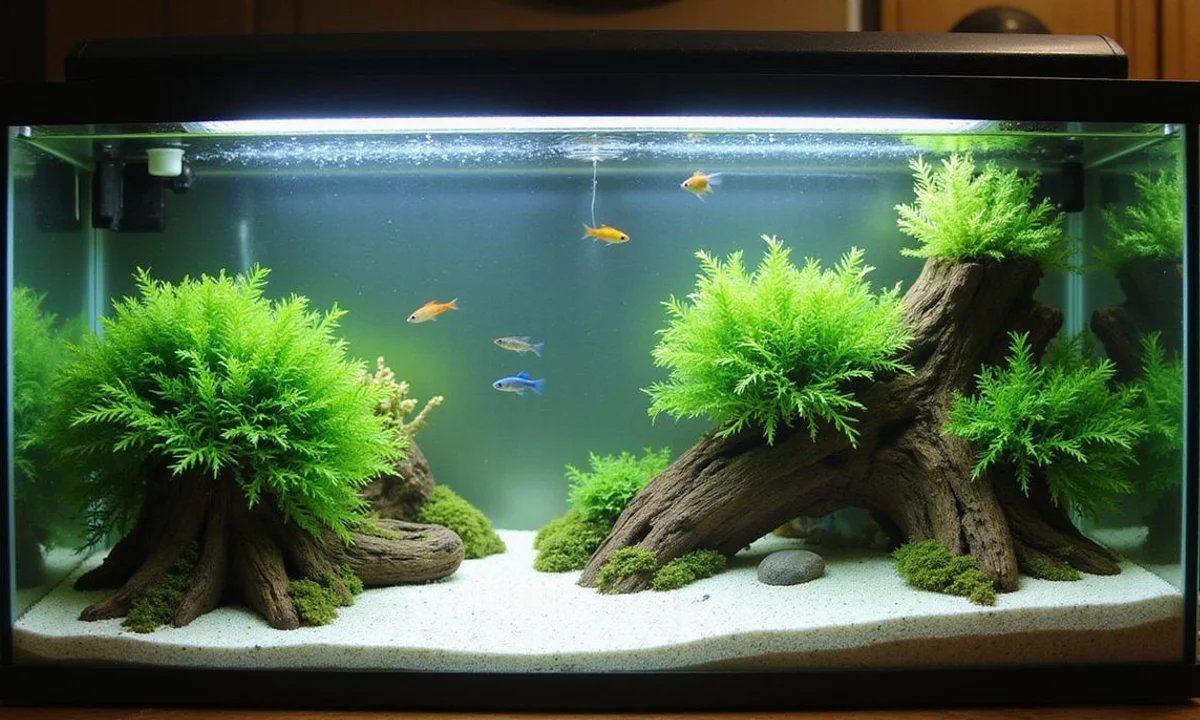
Step 3: Hardscape and plants
Adding natural elements gives your fish secure hiding spots and creates a professional aesthetic. Natural wood pieces, like Mopani or spider wood, release beneficial tannins and look incredibly striking. We recommend pairing these with inert stones such as Dragon Stone or Seiryu stone.
Live plants serve a vital dual purpose by consuming toxic nitrates while looking fantastic. Here are our top beginner-friendly plant choices:
- Java fern: Anchor these tough green leaves directly to wood or rock using fishing line or aquatic superglue. Do not bury the thick green rhizome in the gravel or it will rot.
- Anubias: This slow-growing species thrives under low light and requires the exact same anchoring method as Java fern.
- Amazon sword: Root these heavy feeders deeply into a nutrient-rich substrate. They grow quite large and need plenty of vertical space.
- Java moss: You can tie this stringy moss to virtually any surface, and it provides a perfect hiding place for baby fish.
If you prefer a simpler first fish tank guide approach, high-quality silk plants or a driftwood-only setup work perfectly fine.
Step 4: Filter, heater, lighting
Filter
Water flow and filtration are the life support system for your aquatic pets.
- Hang-on-back (HOB): Models like the AquaClear 30 or Marineland Penguin Pro are incredibly reliable and easy to clean.
- Sponge filter: These air-driven units are cheap, gentle, and absolutely perfect for breeding tanks or delicate shrimp.
- Canister filter: Heavy-duty options like the Fluval 107 are overkill for a 20-gallon tank but offer massive biological capacity.
We require a filter rating that cycles at least four times your total tank volume per hour. An AquaClear 30 moves 150 gallons per hour, making it an ideal workhorse for a 29-gallon setup.
Heater
Most popular tropical fish thrive in a water temperature range between 76 and 80 degrees Fahrenheit. You need a fully submersible heater rated for your specific water volume, typically 100 watts for a 29-gallon tank. We prefer reliable brands like the Eheim Jager or Aqueon Pro because of their sturdy build quality. Never skimp on this equipment, as a cheap heater can easily stick in the ‘on’ position and cook a tank in just a few hours.
Lighting
Standard LED strip lights included in most starter kits are completely fine for basic fish viewing. Upgrading your lighting becomes necessary if you decide to grow live plants. We see great results with planted-spec LEDs like the Finnex Planted+ or the Fluval Plant 3.0 Bluetooth fixture. These units offer customizable spectrums and timers to keep algae growth in check.

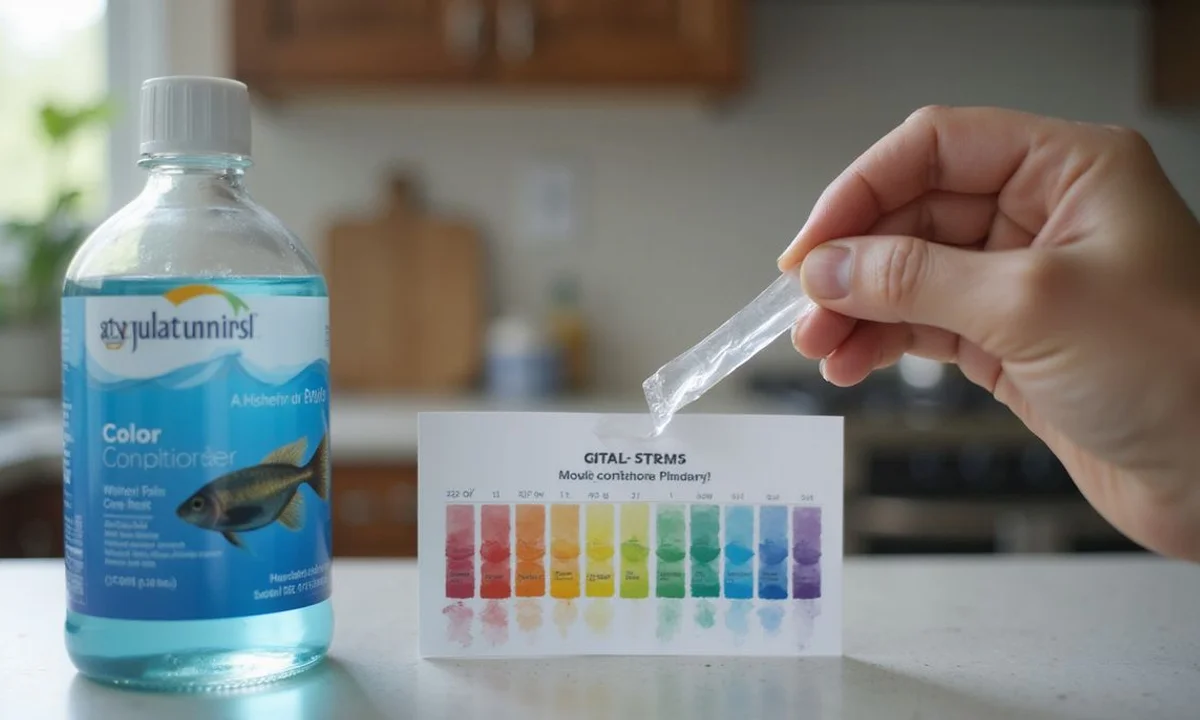
Step 5: Fill, treat, run
Fill the tank slowly with standard tap water. You must immediately add a liquid dechlorinator at the exact dose listed on the bottle. Our team uses Seachem Prime as the shop standard because a single 5mL capful treats 50 gallons and temporarily binds toxic ammonia for 48 hours. Turn on your filter, plug in the heater, and start any air pumps. Wait a full 24 hours to monitor the seams for microscopic leaks before adding anything else.
Step 6: Cycle the tank
This biological process is the single most important step in setting up your first freshwater aquarium. You are intentionally growing colonies of beneficial bacteria that convert lethal ammonia into dangerous nitrite, and finally into safer nitrate. This invisible maturation process takes anywhere from two to six weeks.
Here are the two primary cycling methods you can use:
Fishless cycling (recommended)
Add a pure liquid ammonia source like Dr. Tim’s Aquatics dosed to exactly 2 parts per million. You can also sprinkle in a small pinch of flake fish food every few days to decay. Test your water chemistry every two to three days using a liquid test kit.
You will notice a very specific progression over two to four weeks:
- Ammonia spikes rapidly, then begins dropping as Nitrosomonas bacteria colonies establish in your filter pad.
- Nitrite levels rise sharply as the first bacteria convert that ammonia.
- Nitrate finally begins showing up on your tests as the second wave of bacteria converts the nitrite.
- Your cycle is officially complete when both ammonia and nitrite read a steady zero.
Fish-in cycling (slower, harder on fish)
Introduce one or two very hardy starter fish like zebra danios to generate waste. You must perform 15 percent water changes every two days to keep the toxic ammonia diluted below 0.5 parts per million. We discourage this method because it takes much longer and causes severe stress to the animals.
Read the nitrogen cycle explained for beginners for a complete breakdown of this crucial biological process.
Step 7: First fish
Patience pays off when it is finally time to stock your cycled aquarium.
- Start by adding two to four hardy fish to test the biological filter.
- Test your water for ammonia and nitrite every 48 hours for the first two weeks.
- Wait until those two weeks pass before introducing another small group of tankmates.
- Continue this slow stocking method over several months so the bacteria can multiply and handle the increasing bioload.
We suggest looking at our guides for best beginner freshwater fish and community tank stocking to pick peaceful, compatible species.
Ongoing maintenance
A consistent cleaning schedule keeps your fish healthy and your water crystal clear.
- Weekly: Perform a 15 to 20 percent water change using temperature-matched, dechlorinated tap water. Use a gravel siphon like the Python No Spill Clean and Fill to vacuum waste out of the substrate.
- Monthly: Gently squeeze out your filter sponges in a bucket of dirty tank water. Tap water contains chlorine that will instantly kill your beneficial bacteria colonies.
- Every 6-12 months: Replace mechanical filter cartridges if your Hang-On-Back unit requires them, but never throw away the ceramic bio-media.
- Daily: Feed your fish very small amounts once or twice a day. Only offer what they can completely consume in under two minutes to prevent rotting food.
We recommend testing your water chemistry twice a month once the tank is fully stocked.
Free water testing
Bring a half-cup water sample to the store any time you need help. Our staff provides free, highly accurate liquid testing for ammonia, nitrite, nitrate, pH, general hardness, and carbonate hardness. This service is especially useful during your initial cycling period if you do not want to purchase an API Freshwater Master Test Kit right away. Stop by the shop Monday through Saturday between 10 AM and 6 PM, or Sunday from 12 PM to 5 PM.
If you are currently pricing out the glass tank itself, the local custom glass shops generally offer better hardware deals than our boutique. We function as your premium livestock source, offering quarantined fish, peaceful community planning, and expert troubleshooting when things go wrong.
Frequently Asked Questions
Can I use tap water in Sarasota?
Yes, with a dechlorinator (Seachem Prime, API Stress Coat). Sarasota tap water is moderately hard and slightly alkaline, suitable for most community tropicals without adjustment.
How long before I can add fish?
Plan on 2-4 weeks of fishless cycling, or follow the slower fish-in cycle with frequent water changes if you're already started. The cycle is complete when ammonia and nitrite both read 0 with nitrate showing.
Do I need live plants?
No, but they help with water quality and aesthetics. We stock easy starters like java fern, anubias and amazon swords that don't need special lighting or CO2.